# Getting Started
Even if Vuetify Admin can be used as standalone NPM package via yarn add vuetify-admin, the recommended way is to use dedicated Vue CLI plugin (opens new window) on fresh Vuetify app project.
It takes care of all minimal boilerplate code generation for quick start admin development as well as including material theme and UI CRUD generators scripts.
TUTORIAL
If first discover, I highly recommend you to go through the tutorial for step-by-step Vuetify Admin showcase using a fake API server.
# Use Vue CLI Plugin
As a CLI project, be sure to have installed Vue CLI (opens new window).
# Install
BACKEND API
You should have a separate API backend project before using this package.
Fortunately you can quickly start with a fully functional Laravel API backend thanks to separated Laravel Admin (opens new window) composer package. As a bonus, this package will use an integrated laravel optimized Vue CLI preset for even less install steps. Go here for full showcase.
In case you want to use it on your custom API, you may probably need to write your own data provider.
Initialize your brand new Vue CLI admin project with this single line command :
vue create my-admin-project --preset okami101/vuetify-admin-preset
In the end you should arrive to a wizard installer. Select suited options according to your needs.
Finally start your admin panel by yarn serve. Don't forget to have your backend running next to. Now you have a full basic admin working and are ready to start !
PRODUCTION
On production, you may need to adapt BASE_URL and VUE_APP_API_URL variables. If your admin app relies on specific admin sub folder of main API backend, the general use case is to put next values inside .env.local :
VUE_APP_API_URL=/
BASE_URL=/admin
2
# Under the hood
This above command use this online preset (opens new window) which will initialize all admin project by preparing a valid basic Vuetify project with proper Vue router and Vuex as well as installing Vuetify Admin CLI plugin.
It's equivalent to :
vue create admin
# select at least the Router, the Vuex as well as a code style formatter like Prettier
cd admin
vue add vuetify # the main UI framework
vue add i18n # the internationalization plugin
vue add vuetify-admin # install the main admin library
2
3
4
5
6
The final Vuetify Admin installer command will do all this steps :
- Install main Vuetify Admin library.
- Install third-party required dependencies as PortalVue (opens new window), Vue.Draggable (opens new window).
- Add UI CRUD generators scripts, see dedicated section for more detail.
- Generate inside your project all minimal boilerplate by selecting them via on-demand wizard for quick start :
- Data provider, select custom implementation if you intend to use it with your own API. It will prepare for you a basic implemented data provider file.
- Auth provider, between stateless JWT, basic HTTP, fake testing or full state auth with cookies for Laravel Sanctum (opens new window). Provide a login page unless you choose guest mode. Select custom for if you intend to use a custom provider by starting with an empty implemented file.
- Pre configured API URL endpoint for above providers using axios.
- Supported UI locales.
- Basic profile edition page with password change support. You'll need to configure endpoints for profile update on API side.
- User management single page list default template with direct aside creation / show / edition.
- Add impersonation components if your API support it.
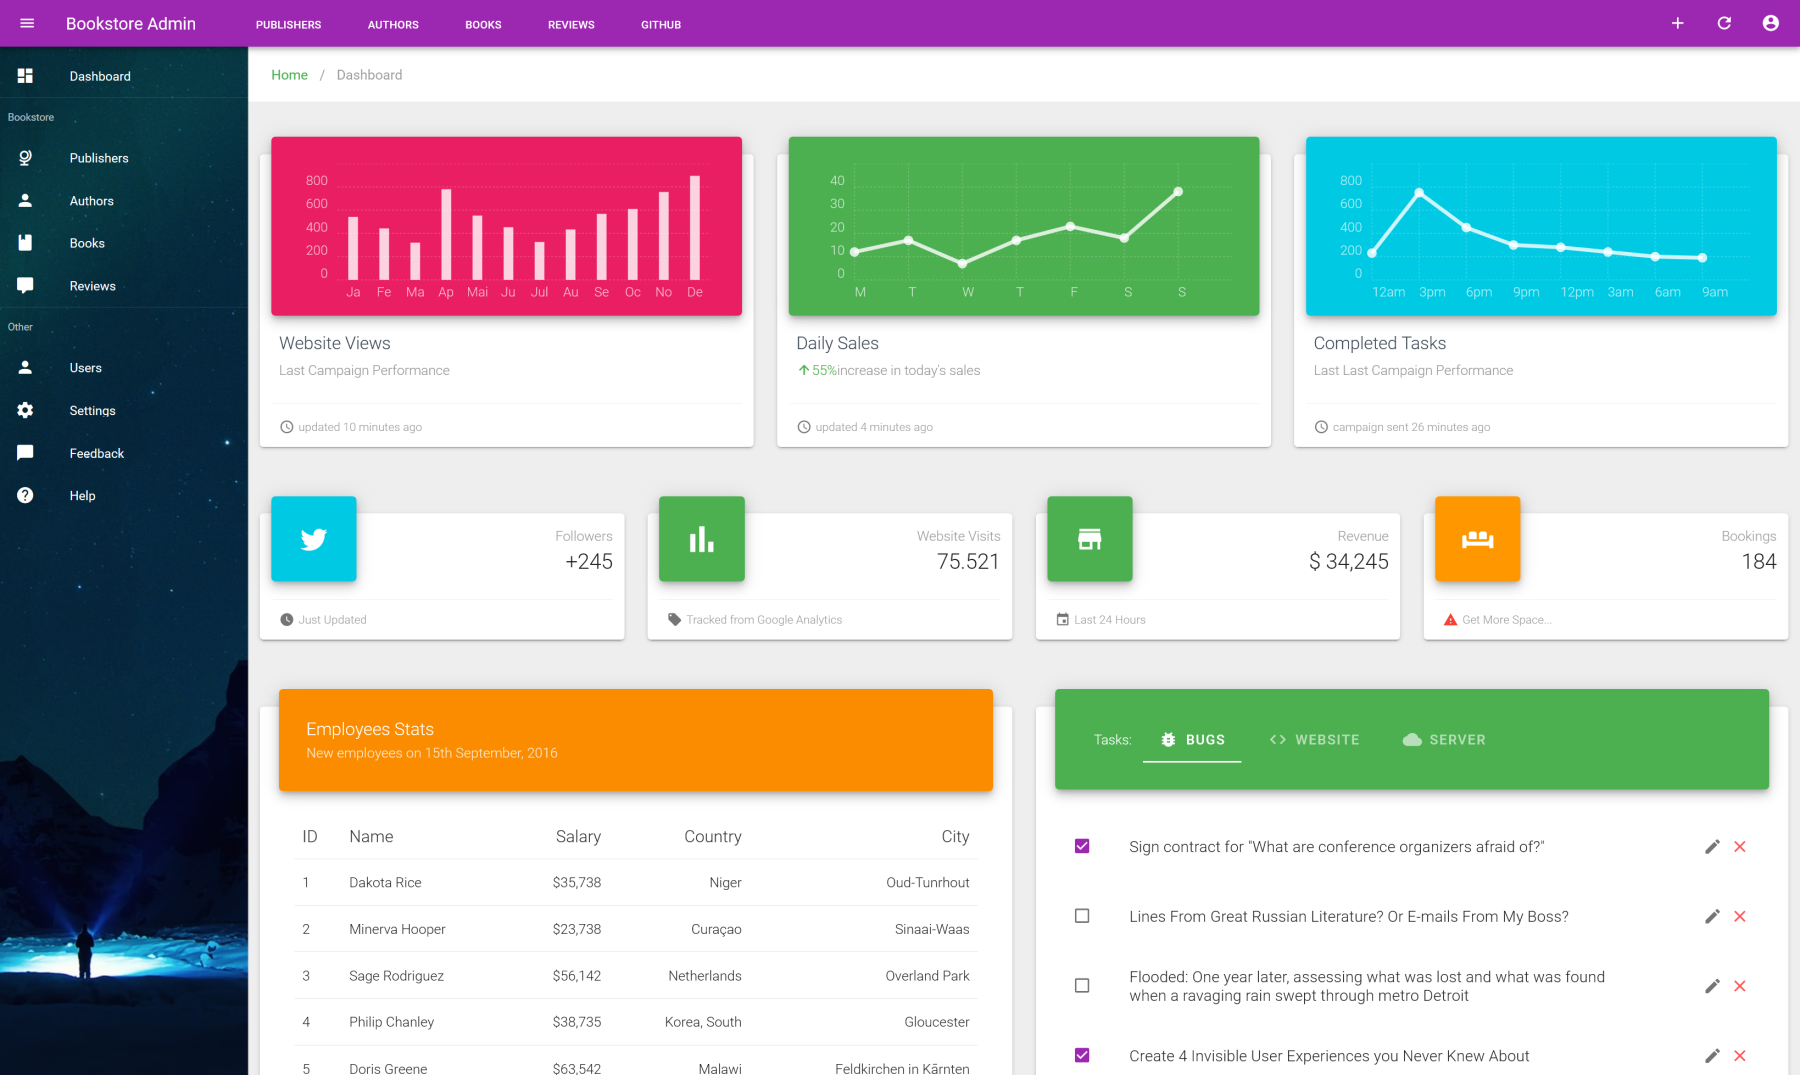
- Material theme by Creative Tim (opens new window) as a superset theme on Vuetify with nice static dashboard sample using Chartist.js (opens new window).
- Finally initialize admin plugin with automatic crud pages webpack context load and create base admin layout page.
# Directory structure
Once installation finished, you should get this following src directory structure (main elements you should know are highlighted) :
src
├── assets
│   ├── logo.svg (Brand logo used on login and error pages)
│   └── splash.jpg (Image background for login page)
│
├── components
│   ├── base (Some material components taken from Creative Tim  (opens new window))
│   ├── buttons
│   │   └── ImpersonateButton.vue (Impersonate action button by user)
│   └── ImpersonateMessage.vue (Impersonation alert which allows leaving)
│
├── layouts
│   └── Admin.vue (Main admin layout, see dedicated doc)
│
├── locales (I18n, localized resources label are here, see dedicated doc)
│   ├── en.json
│   └── fr.json
│
├── plugins
│   ├── admin.js (Main admin plugin where VA is instantiated)
│   ├── base.js (Material components loader from above components/base directory)
│   ├── chartist.js (Chartist plugin for nice dashboard sample)
│   ├── i18n.js (Some default i18n date and number formatters)
│   └── vuetify.js (Vuetify plugin)
│
├── providers
│   ├── authProvider.js (Pre-implemented custom auth provider)
│   └── dataProvider.js (Pre-implemented custom data provider)
│
├── resources (Main resources directory, main workspace for admin development)
│   ├── users (User CRUD pages location)
│   │   ├── Form.vue
│   │   ├── List.vue
│   │   └── Show.vue
│   └── index.js (Resources file descriptor, see dedicated doc)
│
├── router
│   ├── admin.js (Authenticated private routes)
│   └── index.js (Vue Router instance with your custom public routes)
│
├── sass (Vuetify Material Theme taken from Creative Tim  (opens new window))
│   ├── vuetify-material (Components material CSS)
│   ├── overrides.sass (Vuetify material overrides)
│   └── variables.scss (Vuetify variables)
│
├── store
│   └── index.js (Vue Store instance with your custom modules)
│
├── views (Best place for specific custom public or private pages)
│   ├── Dashboard.vue (Static dashboard sample)
│   ├── Error.vue (Generic error page)
│   ├── Login.vue (Public page)
│   └── Profile.vue (Private page)
│
├── _nav.js (Main Sidebar Menu)
├── App.vue
├── i18n.js (Vue I18n Plugin)
└── main.js
Your main working directory will be the resources folder. Use views for your custom public or private pages.
The next steps is to register your backend resources and write your CRUD pages.
# Bare metal installation
If you can't use dedicated Vue CLI plugin, you can still try to install main Vuetify Admin library as-is but it will be far more complex to get it properly configured. First add all required dependencies by yarn add vue-router vuex vuetify vue-i18n vuetify-admin portal-vue vuedraggable. Then import and register them as following :
src/plugins/admin.js
import Vue from "vue";
import VuetifyAdmin from "vuetify-admin";

import "vuetify-admin/src/loader";

Vue.use(VuetifyAdmin);
2
3
4
5
6
Next you must instantiate Vuetify Admin with proper providers and options. Follow full guide here.
# At a glance
The 1st step is to describe backend resources you want to administer.
src/resources/index.js
export default [
  {
    name: "books",
    icon: "mdi-book",
    translatable: true,
    permissions: ["admin", "editor", "author"],
  },
  {
    name: "reviews",
    icon: "mdi-comment",
    permissions: ["admin", "editor", "author"],
  },
  {
    name: "users",
    icon: "mdi-account",
    routes: ["list"],
    permissions: ["admin"],
  },
];
2
3
4
5
6
7
8
9
10
11
12
13
14
15
16
17
18
19
You will find more detail on resources registering here.
Then next step is to define CRUD pages for each resource by following this naming convention : src/resources/{resource}/{action}.vue.
By default if no custom page action component is found, Vuetify Admin uses basic CRUD page action that will try to guess all suited typed fields or inputs according to type of each property value of the first found resource item via getList data provider method.
GUESSER MODE
Note that it's more a quick starter mode and it should never be used on production ! So create your own CRUD page as below stay heavily recommended.
This guesser pages have one big utility. They display full generated Vue component template code as well as the target file where to paste it on browser console ! It will overriding default current page, and you're already ready to customize it as normal Vue page.
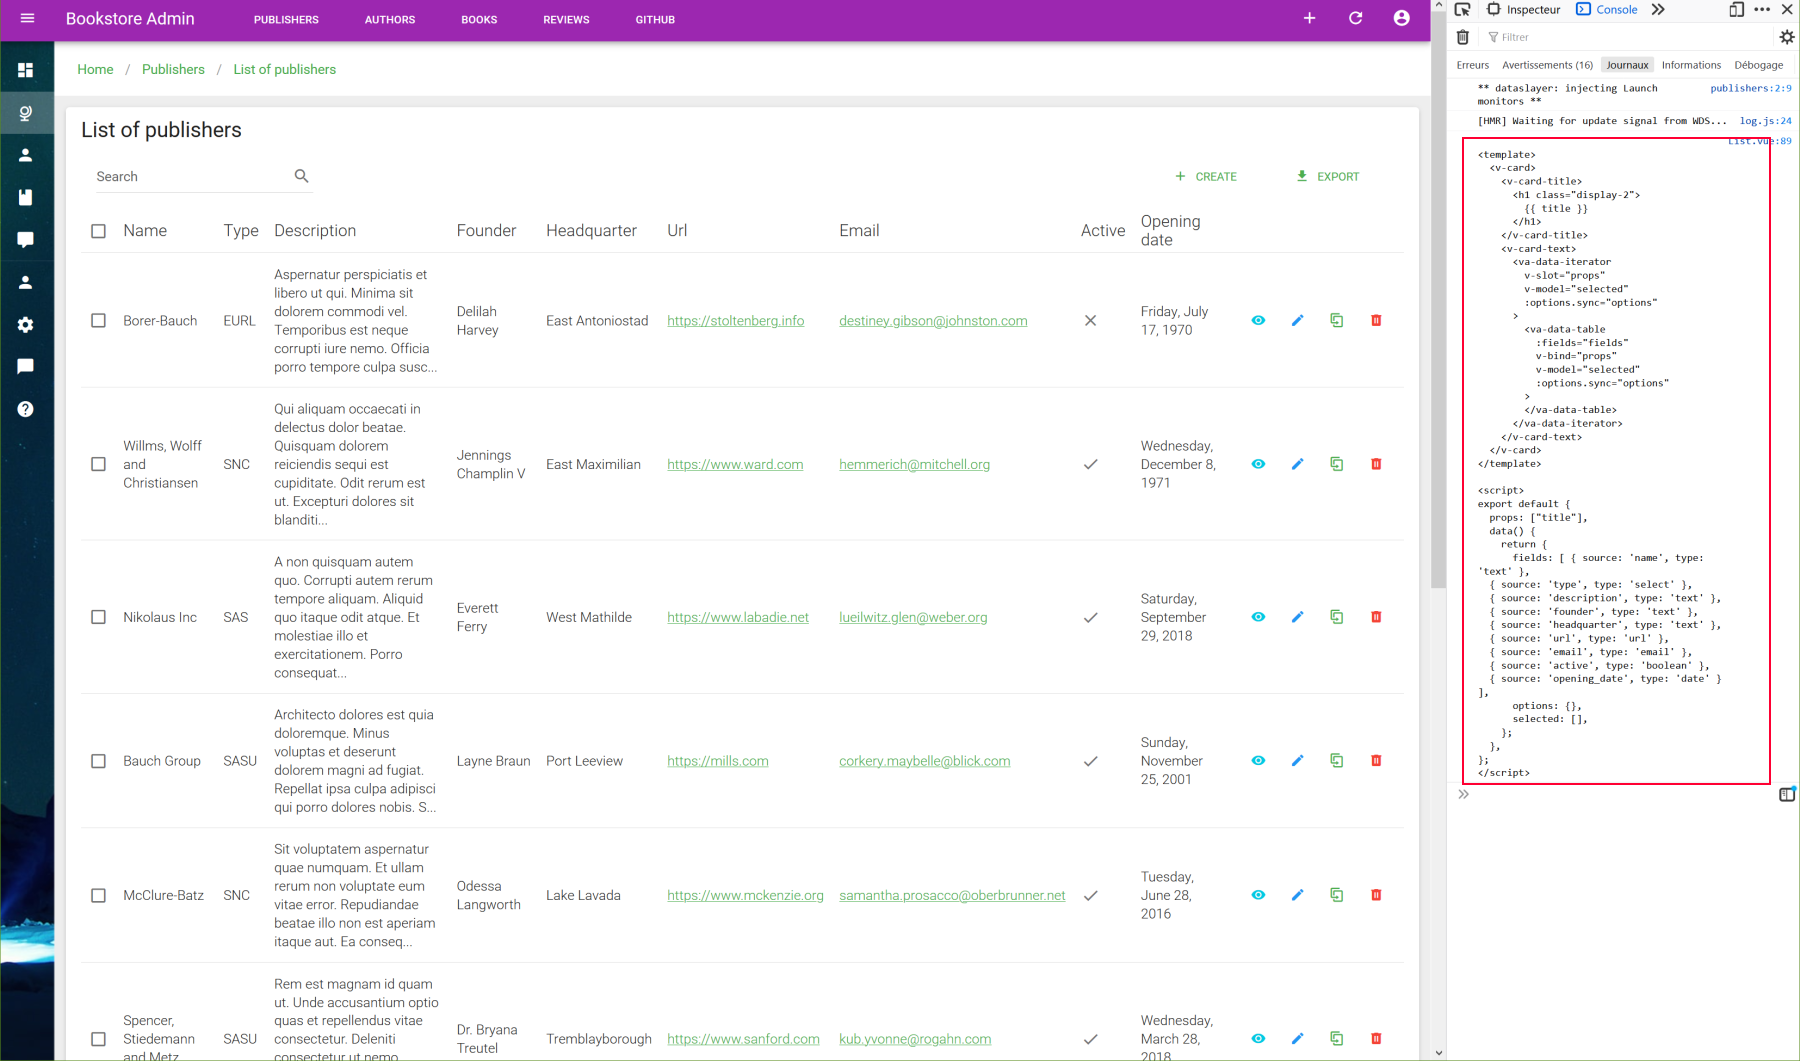
Here some full CRUD page samples for reviews resource :
More detail on CRUD page development on separate guides :
NB : This pages can be pre-generated by code generators. See dedicated section.
VETUR AND JETBRAINS SUPPORT
Use Vetur (opens new window) or any Jetbrains products for best development experience. All VA tags and attributes components are fully documented in a way to allow autocompletion support !
← Introduction Tutorial →