
Use GitOps workflow for building a production grade on-premise Kubernetes cluster on cheap VPS provider, with complete CI/CD 🎉
This is the Part X of more global topic tutorial. Back to guide summary for intro.
Code Metrics
SonarQube is leading the code metrics industry for a long time, embracing full Open Core model, and the community edition it’s completely free of charge even for commercial use. It covers advanced code analysis, code coverage, code duplication, code smells, security vulnerabilities, etc. It ensures high quality code and help to keep it that way.
SonarQube installation
SonarQube has its dedicated Helm chart which is perfect for us. However, it’s the most resource hungry component of our development stack so far (because built with Java ? End of troll), so be sure to deploy it on almost empty free node (which should be ok with 3 workers), maybe a dedicated one. In fact, it’s the last Helm chart for this tutorial, I promise!
Create dedicated database for SonarQube same as usual, then we can use flux for deployment.
apiVersion: v1kind: Namespacemetadata: name: sonarqube---apiVersion: source.toolkit.fluxcd.io/v1kind: HelmRepositorymetadata: name: sonarqube namespace: sonarqubespec: interval: 1h0m0s url: https://SonarSource.github.io/helm-chart-sonarqube---apiVersion: helm.toolkit.fluxcd.io/v2kind: HelmReleasemetadata: name: sonarqube namespace: sonarqubespec: chart: spec: chart: sonarqube reconcileStrategy: ChartVersion sourceRef: kind: HelmRepository name: sonarqube version: ">=10.0.0" interval: 1m releaseName: sonarqube targetNamespace: sonarqube values: resources: limits: cpu: 1000m memory: 2Gi requests: cpu: 500m memory: 2Gi
prometheusMonitoring: podMonitor: enabled: true namespace: sonarqube
monitoringPasscode: null monitoringPasscodeSecretName: sonarqube-secret monitoringPasscodeSecretKey: monitoring-passcode
jdbcOverwrite: enable: true jdbcUrl: jdbc:postgresql://postgresql-primary.postgres/sonarqube jdbcUsername: sonarqube jdbcSecretName: sonarqube-secret jdbcSecretPasswordKey: db-password
postgresql: enabled: false---apiVersion: traefik.io/v1alpha1kind: IngressRoutemetadata: name: sonarqube namespace: sonarqubespec: entryPoints: - websecure routes: - match: Host(`sonarqube.kube.rocks`) kind: Rule services: - name: sonarqube-sonarqube port: httpHere are the secrets to adapt to your needs:
apiVersion: v1kind: Secretmetadata: name: sonarqube-secret namespace: sonarqubetype: Opaquedata: db-password: YWRtaW4= monitoring-passcode: YWRtaW4=As seen in part 4 of this guide, seal these secrets with kubeseal under sealed-secret-sonarqube.yaml and delete original secret file.
Inside Helm values, be sure to disable the PostgreSQL sub chart and use our self-hosted cluster with both postgresql.enabled and jdbcOverwrite.enabled. If needed, set proper tolerations and nodeSelector for deploying on a dedicated node.
The installation take many minutes, be patient. Once done, you can access SonarQube on https://sonarqube.kube.rocks and login with admin / admin.
Project configuration
Firstly create a new project through SonarQube UI and retain the project key which is his identifier. Then create a global analysis token named Concourse CI that will be used for CI integration from your user account under /account/security.
Now we need to create a Kubernetes secret which contains this token value for Concourse CI, for usage inside the pipeline. The token is the one generated above.
Add a new concourse terraform variable for the token:
variable "concourse_analysis_token" { type = string sensitive = true}concourse_analysis_token = "xxx"The secret:
resource "kubernetes_secret_v1" "concourse_sonarqube" { metadata { name = "sonarqube" namespace = "concourse-main" }
data = { url = "https://sonarqube.${var.domain}" analysis-token = var.concourse_analysis_token }
depends_on = [ helm_release.concourse ]}We are ready to tackle the pipeline for integration.
SonarScanner for .NET
As we use a dotnet project, we will use the official SonarQube scanner for .net. But sadly, as it’s only a .NET CLI wrapper, it requires a java runtime to run and there is no official SonarQube docker image which contains both .NET SDK and Java runtime. But we have a CI now, so we can build our own QA image on our own private registry.
Create a new Gitea repo dedicated for any custom docker images with this one single Dockerfile:
FROM mcr.microsoft.com/dotnet/sdk:7.0
RUN apt-get update && apt-get install -y ca-certificates-java && apt-get install -y \ openjdk-17-jre-headless \ unzip \ && rm -rf /var/lib/apt/lists/*
RUN dotnet tool install --global dotnet-sonarscannerRUN dotnet tool install --global dotnet-coverage
ENV PATH="${PATH}:/root/.dotnet/tools"Note as we add the dotnet-sonarscanner tool to the path, we can use it directly in the pipeline without any extra step. I’ll also add dotnet-coverage global tool for code coverage generation that we’ll use later.
Then the pipeline:
resources: - name: docker-images-git type: git icon: coffee source: uri: https://gitea.kube.rocks/kuberocks/docker-images branch: main - name: dotnet-qa-image type: registry-image icon: docker source: repository: ((registry.name))/kuberocks/dotnet-qa tag: "7.0" username: ((registry.username)) password: ((registry.password))
jobs: - name: dotnet-qa plan: - get: docker-images-git - task: build-image privileged: true config: platform: linux image_resource: type: registry-image source: repository: concourse/oci-build-task inputs: - name: docker-images-git outputs: - name: image params: DOCKERFILE: docker-images-git/dotnet-qa.dockerfile run: path: build - put: dotnet-qa-image params: image: image/image.tarUpdate the main.yaml pipeline to add the new job, then trigger it manually from Concourse UI to add the new above pipeline:
#...
jobs: - name: configure-pipelines plan: #... - set_pipeline: images file: ci/pipelines/images.yamlThe pipeline should now start and build the image, trigger it manually if needed on Concourse UI. Once done, you can check it on your Gitea container packages that the new image gitea.kube.rocks/kuberocks/dotnet-qa is here.
Concourse pipeline integration
It’s finally time to reuse this QA image in our Concourse demo project pipeline. Update it accordingly:
#...
jobs: - name: build plan: - get: source-code trigger: true
- task: build-source config: platform: linux image_resource: type: registry-image source: repository: ((registry.name))/kuberocks/dotnet-qa tag: "7.0" username: ((registry.username)) password: ((registry.password)) #... run: path: /bin/sh args: - -ec - | dotnet format --verify-no-changes
dotnet sonarscanner begin /k:"KubeRocks-Demo" /d:sonar.host.url="((sonarqube.url))" /d:sonar.token="((sonarqube.analysis-token))" dotnet build -c Release dotnet sonarscanner end /d:sonar.token="((sonarqube.analysis-token))"
dotnet publish src/KubeRocks.WebApi -c Release -o publish --no-restore --no-build
#...Note as we now use the dotnet-qa image and surround the build step by dotnet sonarscanner begin and dotnet sonarscanner end commands with appropriate credentials allowing Sonar CLI to send report to our SonarQube instance. Trigger the pipeline manually, all should pass, and the result will be pushed to SonarQube.
Feature testing
Let’s cover the feature testing by calling the API against a real database. This is the opportunity to tackle the code coverage as well.
xUnit
First add a dedicated database for test in the docker compose file as we won’t interfere with the development database:
version: "3"
services: #...
db_test: image: postgres:15 environment: POSTGRES_USER: main POSTGRES_PASSWORD: main POSTGRES_DB: main ports: - 54320:5432Expose the startup service of minimal API:
//...
public partial class Program{ protected Program() { }}Then add a testing JSON environment file for accessing our database db_test from the docker-compose.yml:
{ "ConnectionStrings": { "DefaultConnection": "Host=localhost:54320;Username=main;Password=main;Database=main;" }}Now the test project:
dotnet new xunit -o tests/KubeRocks.FeatureTestsdotnet sln add tests/KubeRocks.FeatureTestsdotnet add tests/KubeRocks.FeatureTests reference src/KubeRocks.WebApidotnet add tests/KubeRocks.FeatureTests package Microsoft.AspNetCore.Mvc.Testingdotnet add tests/KubeRocks.FeatureTests package Respawndotnet add tests/KubeRocks.FeatureTests package FluentAssertionsThe WebApplicationFactory that will use our testing environment:
using Microsoft.AspNetCore.Mvc.Testing;using Microsoft.Extensions.Hosting;
namespace KubeRocks.FeatureTests;
public class KubeRocksApiFactory : WebApplicationFactory<Program>{ protected override IHost CreateHost(IHostBuilder builder) { builder.UseEnvironment("Testing");
return base.CreateHost(builder); }}The base test class for all test classes that manages database cleanup thanks to Respawn:
using KubeRocks.Application.Contexts;
using Microsoft.EntityFrameworkCore;using Microsoft.Extensions.DependencyInjection;
using Npgsql;
using Respawn;using Respawn.Graph;
namespace KubeRocks.FeatureTests;
[Collection("Sequencial")]public class TestBase : IClassFixture<KubeRocksApiFactory>, IAsyncLifetime{ protected KubeRocksApiFactory Factory { get; private set; }
protected TestBase(KubeRocksApiFactory factory) { Factory = factory; }
public async Task RefreshDatabase() { using var scope = Factory.Services.CreateScope();
using var conn = new NpgsqlConnection( scope.ServiceProvider.GetRequiredService<AppDbContext>().Database.GetConnectionString() );
await conn.OpenAsync();
var respawner = await Respawner.CreateAsync(conn, new RespawnerOptions { TablesToIgnore = new Table[] { "__EFMigrationsHistory" }, DbAdapter = DbAdapter.Postgres });
await respawner.ResetAsync(conn); }
public Task InitializeAsync() { return RefreshDatabase(); }
public Task DisposeAsync() { return Task.CompletedTask; }}Note the Collection attribute that will force the test classes to run sequentially, required as we will use the same database for all tests.
Finally, the tests for the 2 endpoints of our articles controller:
using System.Net.Http.Json;
using FluentAssertions;
using KubeRocks.Application.Contexts;using KubeRocks.Application.Entities;using KubeRocks.WebApi.Models;
using Microsoft.Extensions.DependencyInjection;
using static KubeRocks.WebApi.Controllers.ArticlesController;
namespace KubeRocks.FeatureTests.Articles;
public class ArticlesListTests : TestBase{ public ArticlesListTests(KubeRocksApiFactory factory) : base(factory) { }
[Fact] public async Task Can_Paginate_Articles() { using (var scope = Factory.Services.CreateScope()) { var db = scope.ServiceProvider.GetRequiredService<AppDbContext>();
var user = db.Users.Add(new User { Name = "John Doe", Email = "john.doe@email.com" });
db.Articles.AddRange(Enumerable.Range(1, 50).Select(i => new Article { Title = $"Test Title {i}", Slug = $"test-title-{i}", Description = "Test Description", Body = "Test Body", Author = user.Entity, }));
await db.SaveChangesAsync(); }
var response = await Factory.CreateClient().GetAsync("/api/Articles?page=1&size=20");
response.EnsureSuccessStatusCode();
var body = (await response.Content.ReadFromJsonAsync<ArticlesResponse>())!;
body.Articles.Count().Should().Be(20); body.ArticlesCount.Should().Be(50);
body.Articles.First().Should().BeEquivalentTo(new { Title = "Test Title 50", Description = "Test Description", Body = "Test Body", Author = new { Name = "John Doe" }, }); }
[Fact] public async Task Can_Get_Article() { using (var scope = Factory.Services.CreateScope()) { var db = scope.ServiceProvider.GetRequiredService<AppDbContext>();
db.Articles.Add(new Article { Title = $"Test Title", Slug = $"test-title", Description = "Test Description", Body = "Test Body", Author = new User { Name = "John Doe", Email = "john.doe@email.com" } });
await db.SaveChangesAsync(); }
var response = await Factory.CreateClient().GetAsync($"/api/Articles/test-title");
response.EnsureSuccessStatusCode();
var body = (await response.Content.ReadFromJsonAsync<ArticleDto>())!;
body.Should().BeEquivalentTo(new { Title = "Test Title", Description = "Test Description", Body = "Test Body", Author = new { Name = "John Doe" }, }); }}Ensure all tests passes with dotnet test.
Note
You may be interested in Testcontainers for native support of containers inside code, including parallelism.
CI tests & code coverage
Now we need to integrate the tests in our CI pipeline. As we testing with a real database, create a new demo_test database through pgAdmin with basic test / test credentials.
Note
In real world scenario, you should use a dedicated database for testing, and not the same as production.
Let’s edit the pipeline accordingly for tests:
#...
jobs: - name: build plan: #...
- task: build-source config: #... params: ConnectionStrings__DefaultConnection: "Host=postgres-primary.postgres;Username=test;Password=test;Database=demo_test" run: path: /bin/sh args: - -ec - | dotnet format --verify-no-changes
dotnet sonarscanner begin /k:"KubeRocks-Demo" /d:sonar.host.url="((sonarqube.url))" /d:sonar.token="((sonarqube.analysis-token))" /d:sonar.cs.vscoveragexml.reportsPaths=coverage.xml dotnet build -c Release dotnet-coverage collect 'dotnet test -c Release --no-restore --no-build --verbosity=normal' -f xml -o 'coverage.xml' dotnet sonarscanner end /d:sonar.token="((sonarqube.analysis-token))"
dotnet publish src/KubeRocks.WebApi -c Release -o publish --no-restore --no-build
#...Note as we already include code coverage by using dotnet-coverage tool. Don’t forget to precise the path of coverage.xml to sonarscanner CLI too. It’s time to push our code with tests or trigger the pipeline manually to test our integration tests.
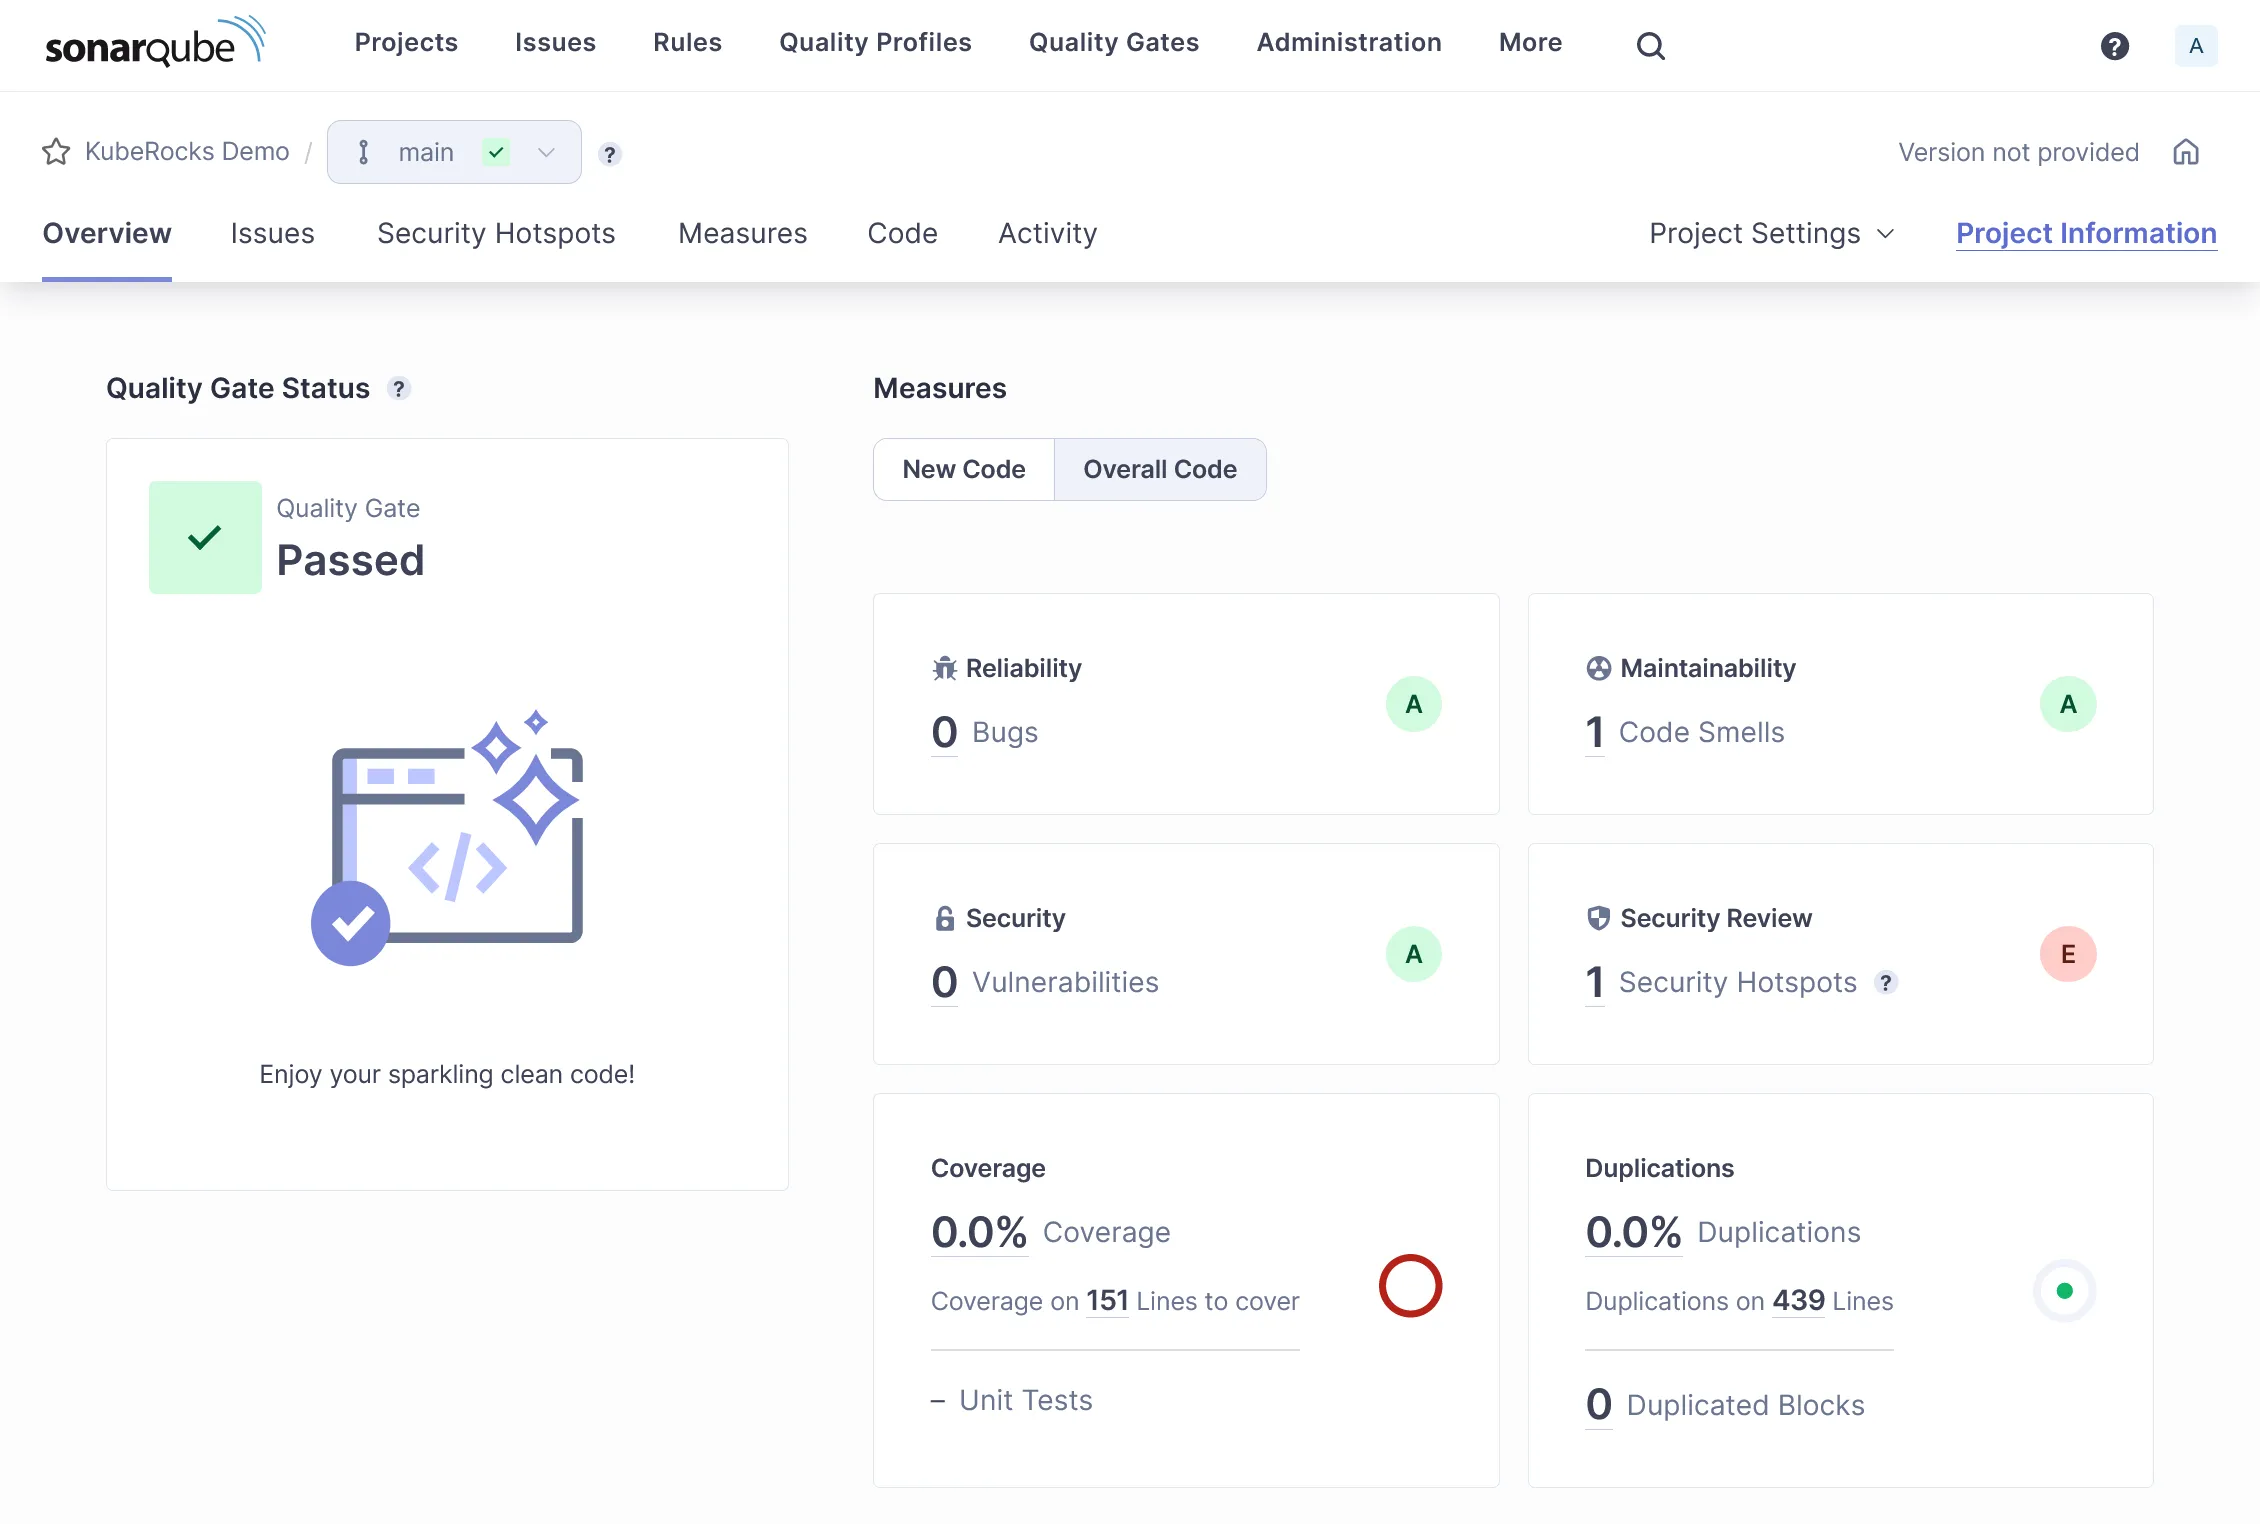
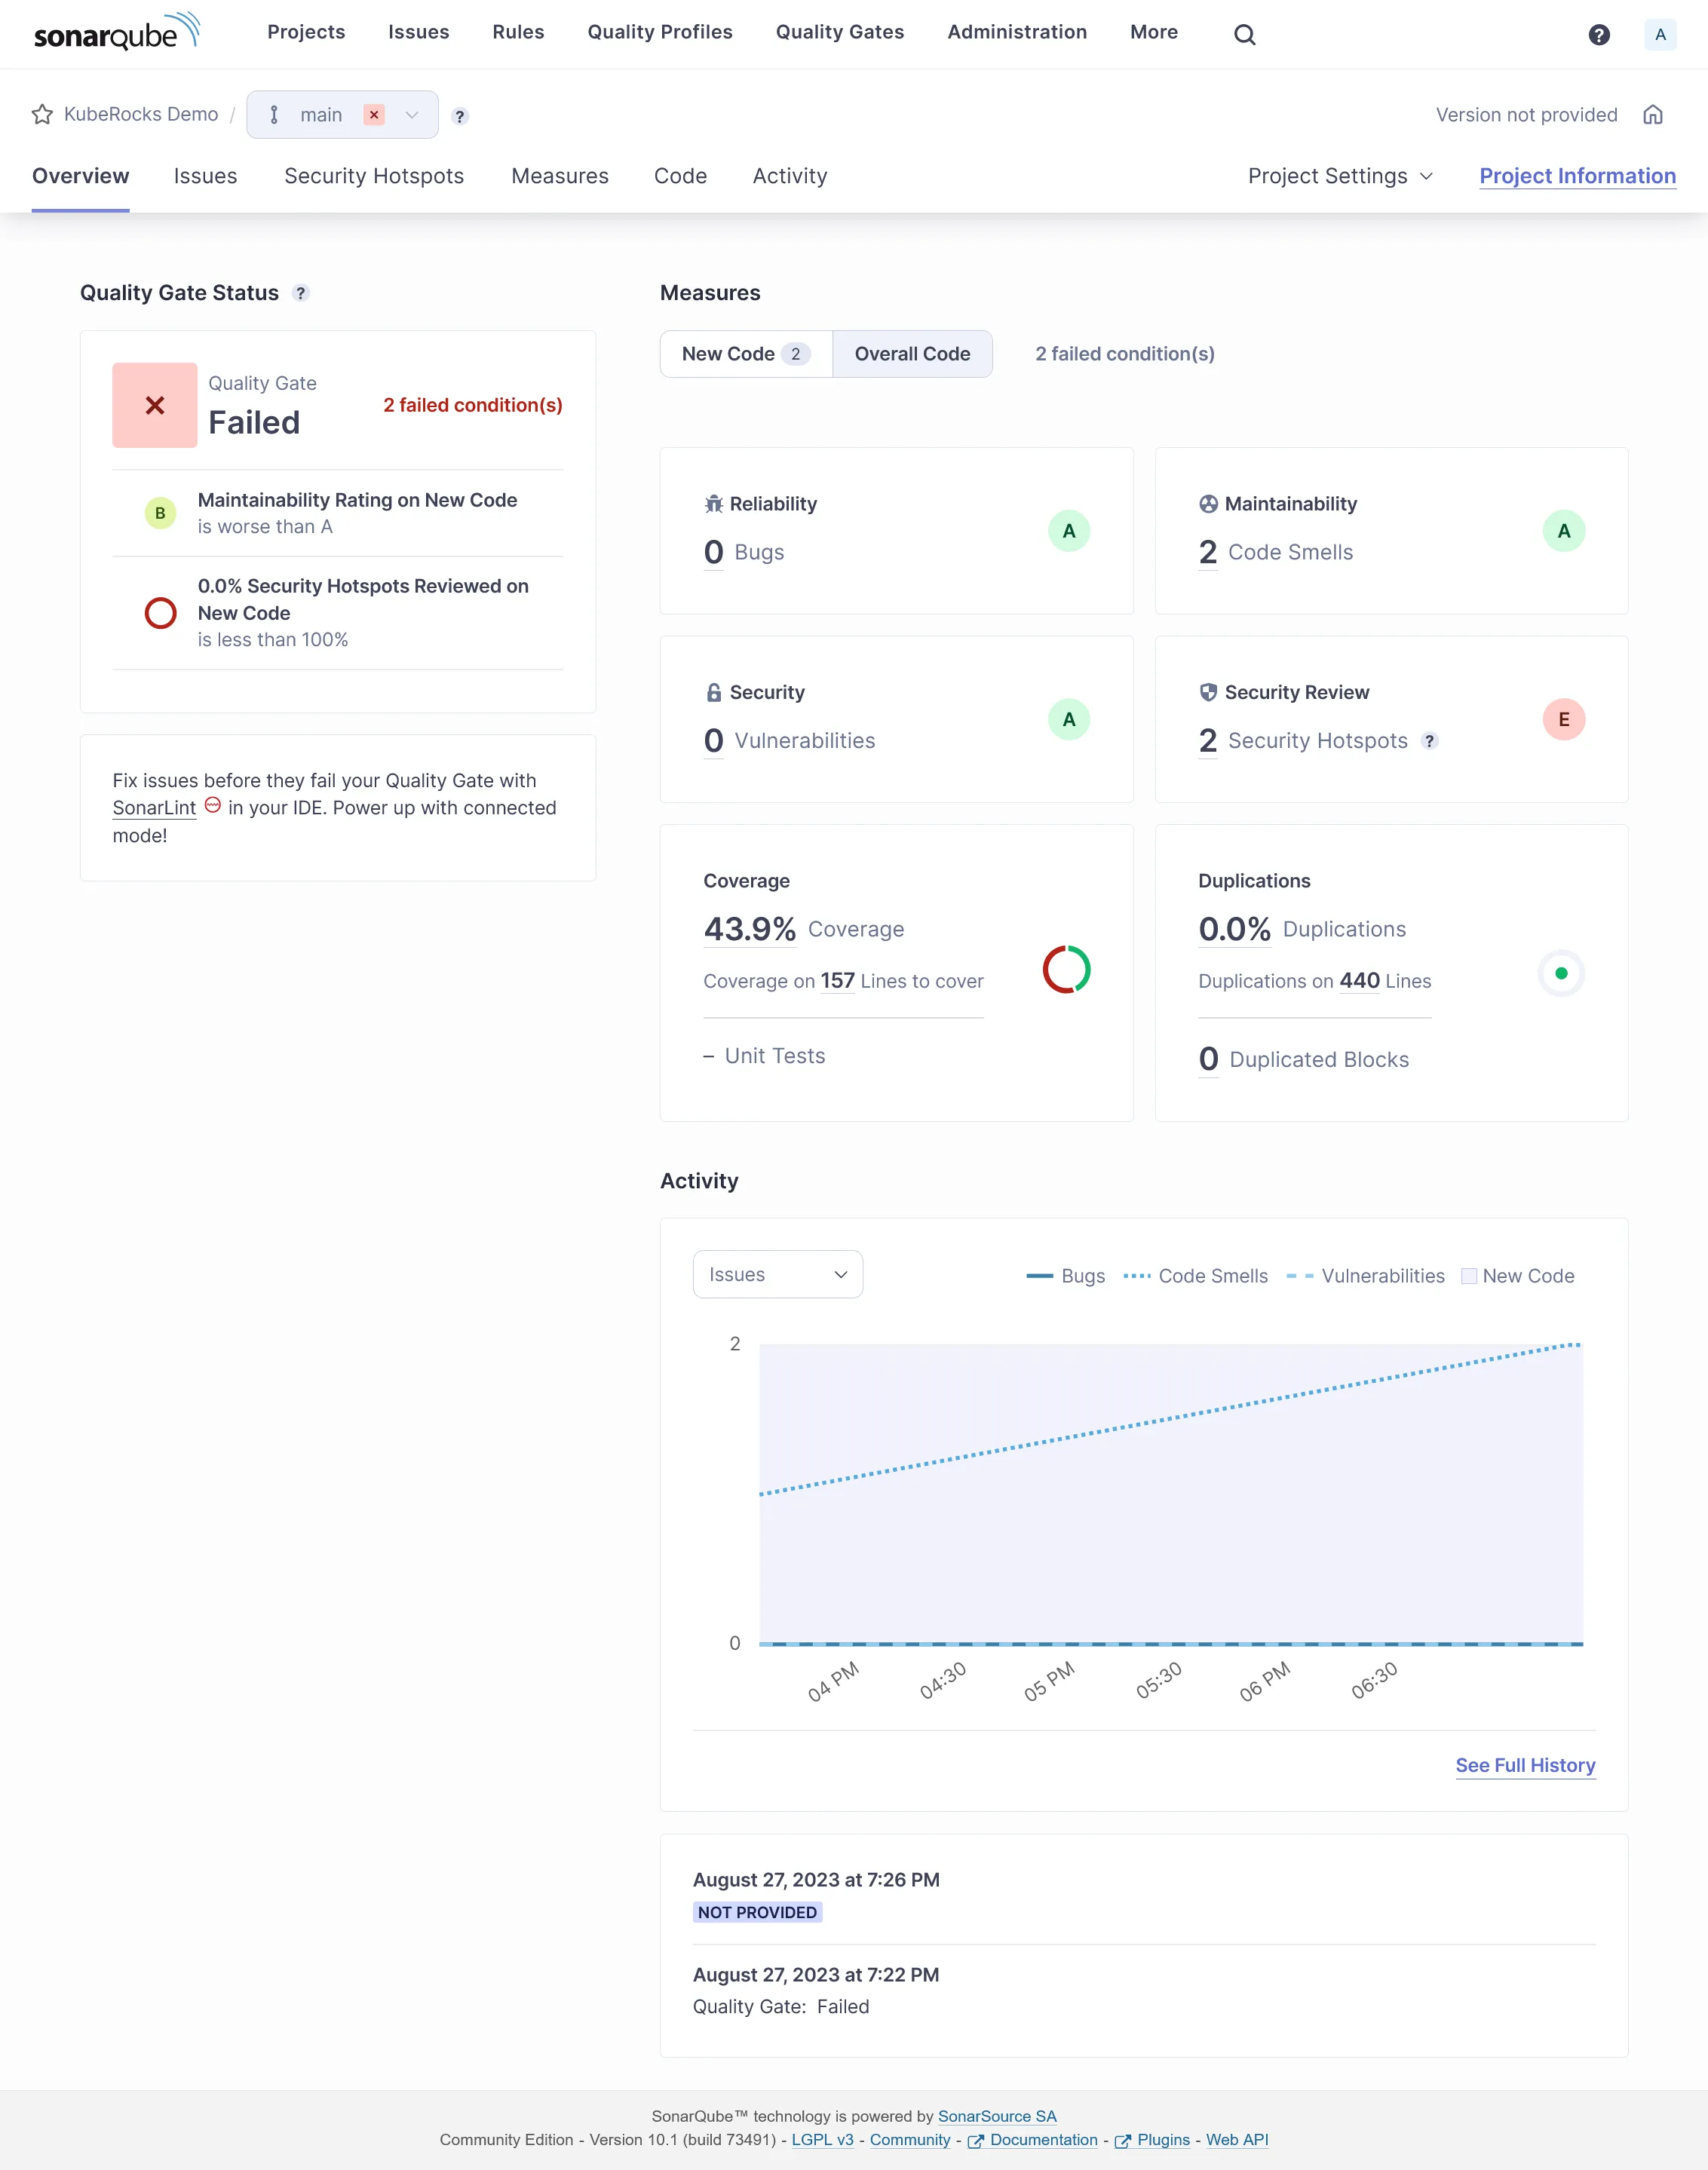
If all goes well, you should see the tests results on SonarQube with some coverage done:
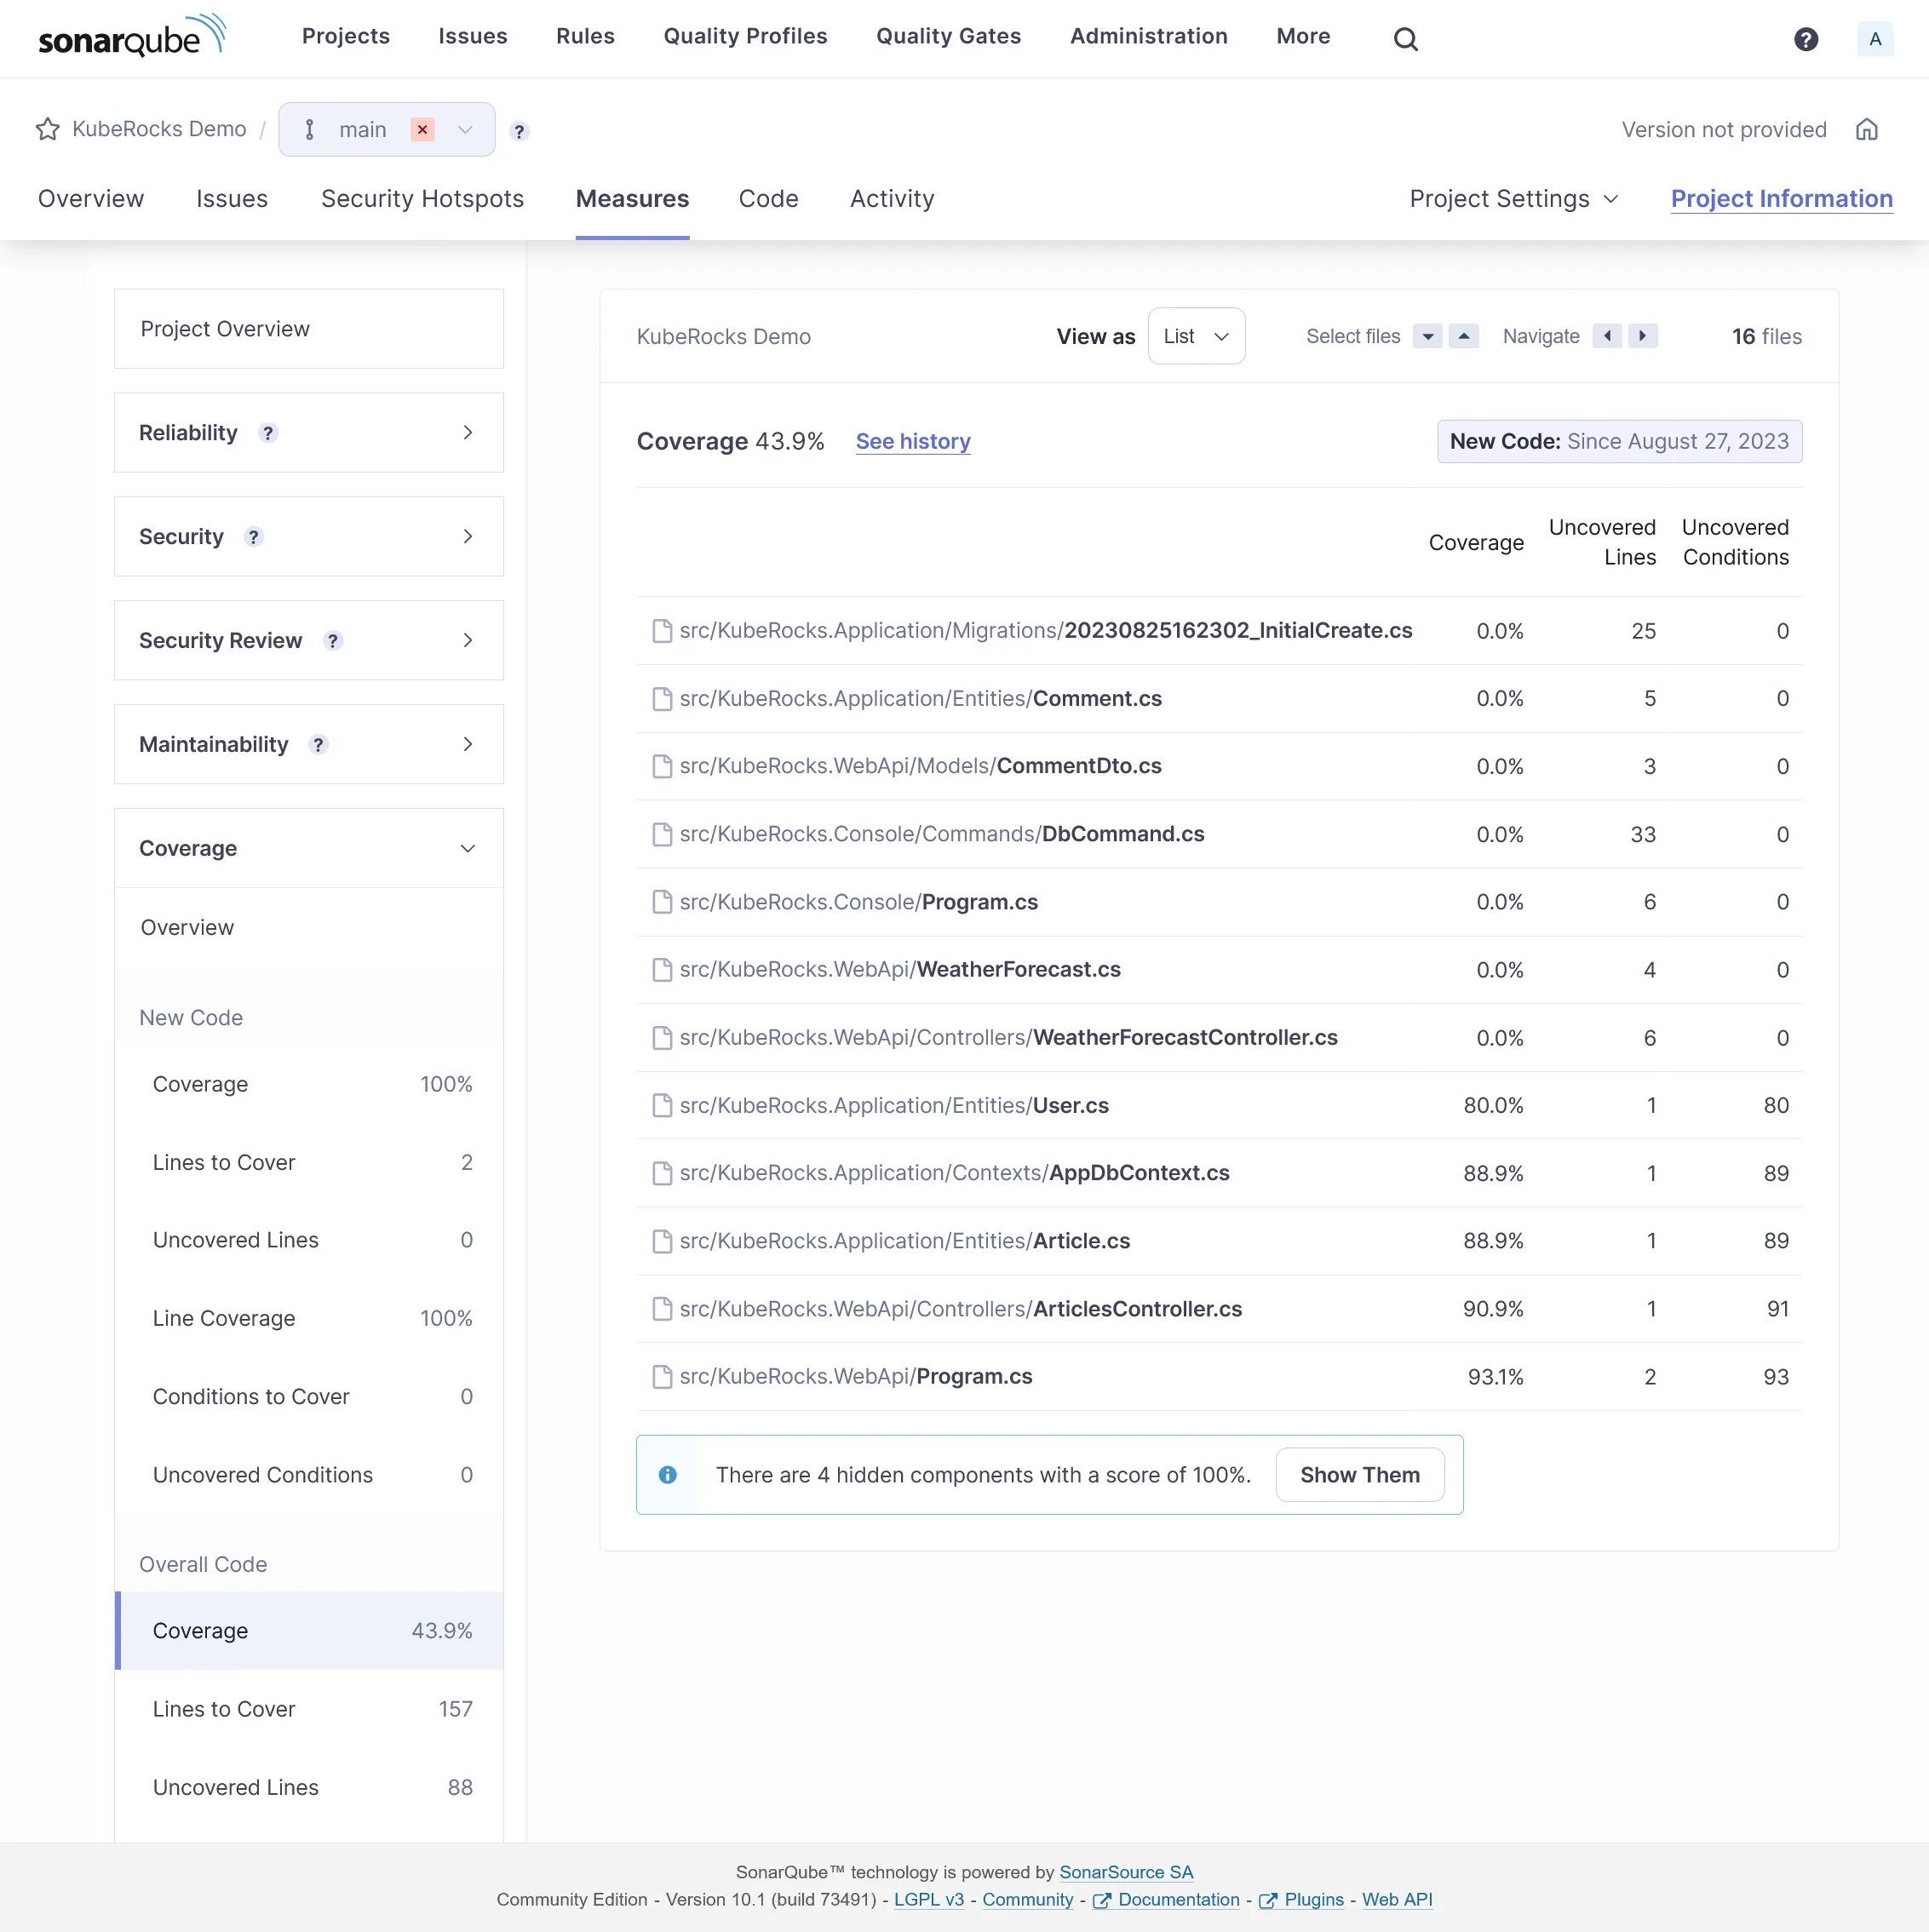
Coverage detail:
You may exclude some files from analysis by adding some project properties:
<Project Sdk="Microsoft.NET.Sdk"> <!-- ... -->
<ItemGroup> <SonarQubeSetting Include="sonar.exclusions"> <Value>appsettings.Testing.json</Value> </SonarQubeSetting> </ItemGroup></Project>Same for coverage:
<Project Sdk="Microsoft.NET.Sdk"> <!-- ... -->
<ItemGroup> <SonarQubeSetting Include="sonar.coverage.exclusions"> <Value>Migrations/**/*</Value> </SonarQubeSetting> </ItemGroup></Project>Sonar Analyzer
You can enforce many default sonar rules by using Sonar Analyzer directly locally before any code push.
Create this file at the root of your solution for enabling Sonar Analyzer globally:
<Project> <PropertyGroup> <AnalysisLevel>latest-Recommended</AnalysisLevel> <TreatWarningsAsErrors>true</TreatWarningsAsErrors> <CodeAnalysisTreatWarningsAsErrors>true</CodeAnalysisTreatWarningsAsErrors> </PropertyGroup> <ItemGroup> <PackageReference Include="SonarAnalyzer.CSharp" Version="9.8.0.76515" PrivateAssets="all" Condition="$(MSBuildProjectExtension) == '.csproj'" /> </ItemGroup></Project>Any rule violation is treated as error at project building, which block the CI before execution of tests. Use latest-All as AnalysisLevel for psychopath mode.
At this stage as soon this file is added, you should see some errors at building. If you use VSCode with correct C# extension, these errors will be highlighted directly in the editor. Here are some fixes:
#...
builder.Host.UseSerilog((ctx, cfg) => cfg .ReadFrom.Configuration(ctx.Configuration) .Enrich.WithSpan() .WriteTo.Console( outputTemplate: "[{Timestamp:HH:mm:ss} {Level:u3}] |{TraceId}| {Message:lj}{NewLine}{Exception}", // Enforce culture formatProvider: CultureInfo.InvariantCulture ));
#...Delete WeatherForecastController.cs.
<Project Sdk="Microsoft.NET.Sdk">
<PropertyGroup> <!-- ... -->
<NoWarn>CA1707</NoWarn> </PropertyGroup>
<!-- ... --></Project>10th check ✅
We have done for code quality process. Go to the final part with load testing, and some frontend !