
Build your own cheap but powerful self-hosted cluster and be free from any SaaS solutions by following this opinionated guide 🎉
This is the Part IV of more global topic tutorial. Back to first part for intro.
Installation of databases
It’s finally time to install some RDBS. The most commons are MySQL and PostgreSQL. I advise the last one nowadays, but I’ll show you how to install both, web GUI managers included. Choose the best suited DB for your own needs.
We’ll install this DB obviously on data-01 as shown in previous part II schema.
MySQL 8 🐬
# on ubuntu 20.04, it's just as simple as nextsudo apt install -y mysql-server
# do some secure setup and let remote root access enabledsudo mysql_secure_installation
Now we need to allow remote root access to the DB from docker nodes in the private network. In MySQL it consists on create a new root user for external host.
First edit /etc/mysql/mysql.conf.d/mysqld.cnf file and comment bind-address line. Then sudo service mysql restart to apply it.
Next use sudo mysql then execute following SQL queries :
CREATE USER 'root'@'10.0.0.0/8' IDENTIFIED WITH caching_sha2_password BY 'myawesomepassword';GRANT ALL PRIVILEGES ON *.* TO 'root'@'10.0.0.0/8' WITH GRANT OPTION;FLUSH PRIVILEGES;10.0.0.0/8 correspond to the subnet mask of private network.
Testing remotely via mysql
It’s now time to confirm remote root access working. Connect to the manager-01 host :
# install the clientsudo apt install -y mysql-client
# you should correctly access to your DB after password promptmysql -hdata-01 -uroot -p
# save mysql credentials in local swarm accountmysql_config_editor set -hdata-01 -uroot -p
With last command, you now access the db directly from the manager by
mysql !
phpMyAdmin
We are now ready to go for installing phpMyAdmin as GUI DB manager. Thanks to our Docker Swarm cluster, it’s super simple !
Create next stack :
version: '3.8'
services: app: image: phpmyadmin/phpmyadmin:5 volumes: - /etc/hosts:/etc/hosts environment: MYSQL_ROOT_PASSWORD: PMA_HOST: data-01 UPLOAD_LIMIT: 50M networks: - traefik_public deploy: labels: - traefik.enable=true - traefik.http.routers.phpmyadmin.entrypoints=https - traefik.http.routers.phpmyadmin.middlewares=admin-ip - traefik.http.services.phpmyadmin.loadbalancer.server.port=80 placement: constraints: - node.role == manager
networks: traefik_public: external: trueThe important part is /etc/hosts in order to allow proper DNS resolving for data-01 configured in PMA_HOST environment variable. This will avoid us from dragging the real IP of data server everywhere…
Deploy it, and you should access to https://phpmyadmin.sw.dockerswarm.rocks after few seconds, with full admin access to your MySQL DB !

PostgreSQL 14 🐘
sudo sh -c 'echo "deb http://apt.postgresql.org/pub/repos/apt $(lsb_release -cs)-pgdg main" > /etc/apt/sources.list.d/pgdg.list'wget --quiet -O - https://www.postgresql.org/media/keys/ACCC4CF8.asc | sudo apt-key add -sudo apt-get updatesudo apt-get -y install postgresql-14Let’s allow remote access by editing /etc/postgresql/14/main/postgresql.conf and setting listen_addresses = '*'
Next edit /etc/postgresql/14/main/pg_hba.conf and add following line :
host all all 10.0.0.0/8 scram-sha-256Finally, apply these by sudo service postgresql restart.
Now create our dedicated super admin swarm user :
# create superadmin swarm usersudo -u postgres createuser swarm -s
# create the user dbsudo -u postgres createdb swarm
Then set the password with sudo -u postgres psql and execute following SQL query :
alter user swarm with encrypted password 'myawesomepassword';Testing remotely via psql
It’s now time to confirm remote root access working. Connect to the manager-01 host :
# install the clientsudo sh -c 'echo "deb http://apt.postgresql.org/pub/repos/apt $(lsb_release -cs)-pgdg main" > /etc/apt/sources.list.d/pgdg.list'wget --quiet -O - https://www.postgresql.org/media/keys/ACCC4CF8.asc | sudo apt-key add -sudo apt-get updatesudo apt-get -y install postgresql-client-14
# you should correctly access to your DB after password promptpsql -hdata-01 -Uswarm
For credential storing, create a .pgpass file with chmod 600 with following content format : data-01:5432:swarm:swarm:myawesomepassword
With last command, you can now access the db directly from the manager by
psql -hdata-01 !
pgAdmin
We are now ready to go for installing pgAdmin as GUI DB manager.
First create a pgadmin storage folder with proper permissions :
sudo mkdir /mnt/storage-pool/pgadminsudo chown -R 5050:5050 /mnt/storage-pool/pgadmin/Finally, create next stack :
version: '3.8'
services: app: image: dpage/pgadmin4 volumes: - /etc/hosts:/etc/hosts - /mnt/storage-pool/pgadmin:/var/lib/pgadmin environment: PGADMIN_DEFAULT_EMAIL: PGADMIN_DEFAULT_PASSWORD: networks: - traefik_public deploy: labels: - traefik.enable=true - traefik.http.routers.pgadmin.entrypoints=https - traefik.http.routers.pgadmin.middlewares=admin-ip - traefik.http.services.pgadmin.loadbalancer.server.port=80 placement: constraints: - node.role == manager
networks: traefik_public: external: trueYou’ll need both PGADMIN_DEFAULT_EMAIL and PGADMIN_DEFAULT_PASSWORD variable environment for proper initialization.
Deploy it, and you should access after few seconds to https://pgadmin.sw.dockerswarm.rocks with the default logins just above.
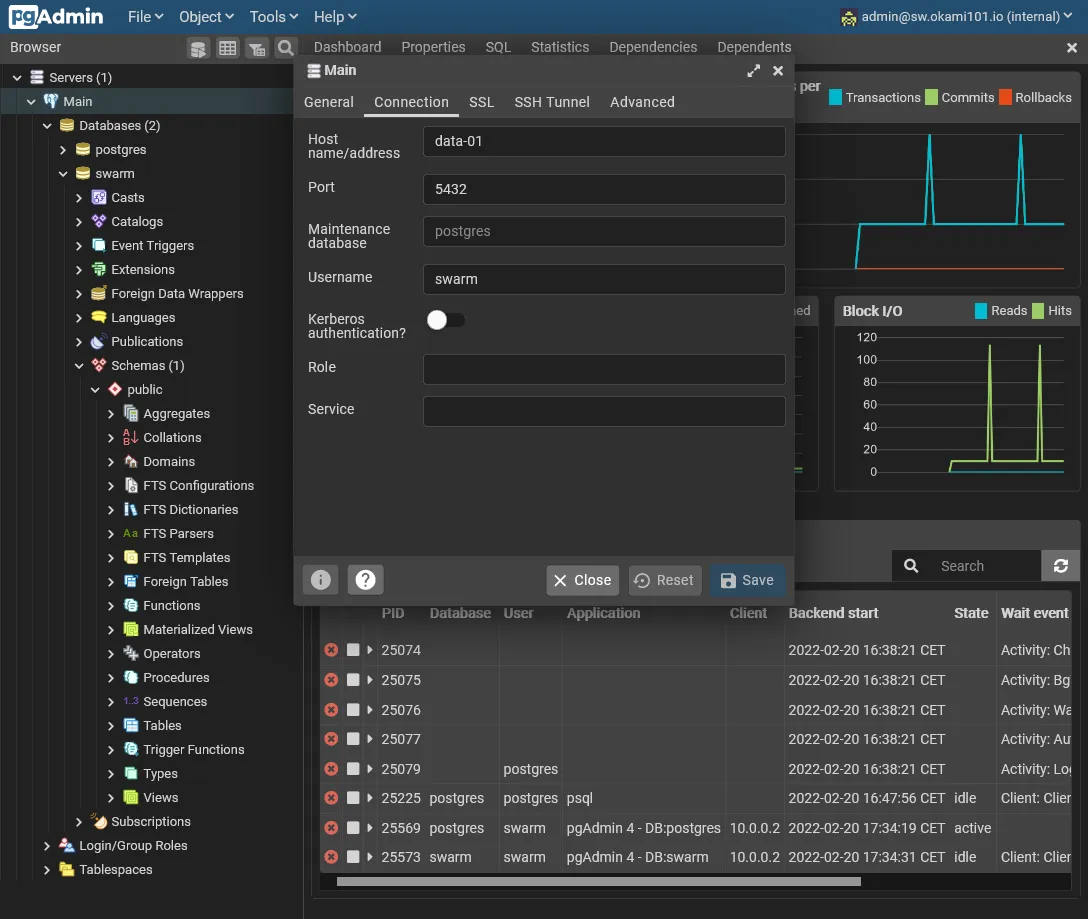
Once logged, you need to add the previously configured PostgreSQL server address via Add new server. Just add relevant host informations in Connection tab. Host must stay data-01 with swarm as superuser access.
Save it, and you have now full access to your PostgreSQL DB !
Further cluster app testing
Let’s now test our cluster with 3 app samples. We’ll deploy them to the worker node.
Matomo over MySQL
Be free from Google Analytics with Matomo. It’s incredibly simple to install with our cluster. Note as Matomo only supports MySQL or MariaDB database. Let’s create some dedicated storage directories for Matomo :
cd /mnt/storage-poolsudo mkdir matomo && cd matomosudo mkdir config misc tmp lang# fix permissions for matomosudo chown -R www-data:www-data .Then create following stack :
version: '3.8'
services: app: image: matomo volumes: - /etc/hosts:/etc/hosts - ${ROOT}/config:/var/www/html/config - ${ROOT}/misc:/var/www/html/misc - ${ROOT}/tmp:/var/www/html/tmp - ${ROOT}/lang:/var/www/html/lang networks: - traefik_public deploy: labels: - traefik.enable=true - traefik.http.routers.matomo.entrypoints=https - traefik.http.services.matomo.loadbalancer.server.port=80 placement: constraints: - node.labels.environment == production
networks: traefik_public: external: trueI use a dynamic ROOT variable here. So you must add this variable with /mnt/storage-pool/matomo value in the below Environment variables section of portainer.
Note
Avoid to use /mnt/storage-pool/matomo:/var/www/html as global volume, otherwise you’ll have serious performance issues, due to slow network files access !
Moreover, it’ll be more efficient for every Matomo updates by just updating the docker image.
The matomo database
Now we’ll creating the matomo DB with dedicated user through above phpMyAdmin. For that simply create a new matomo account and always specify 10.0.0.0/8 inside host field. Don’t forget to check Create database with same name and grant all privileges.
For best Matomo performance, enable local inline file for MySQL :
[mysqld]#...local_infile = 1Don’t forget to restart with sudo service mysql restart.
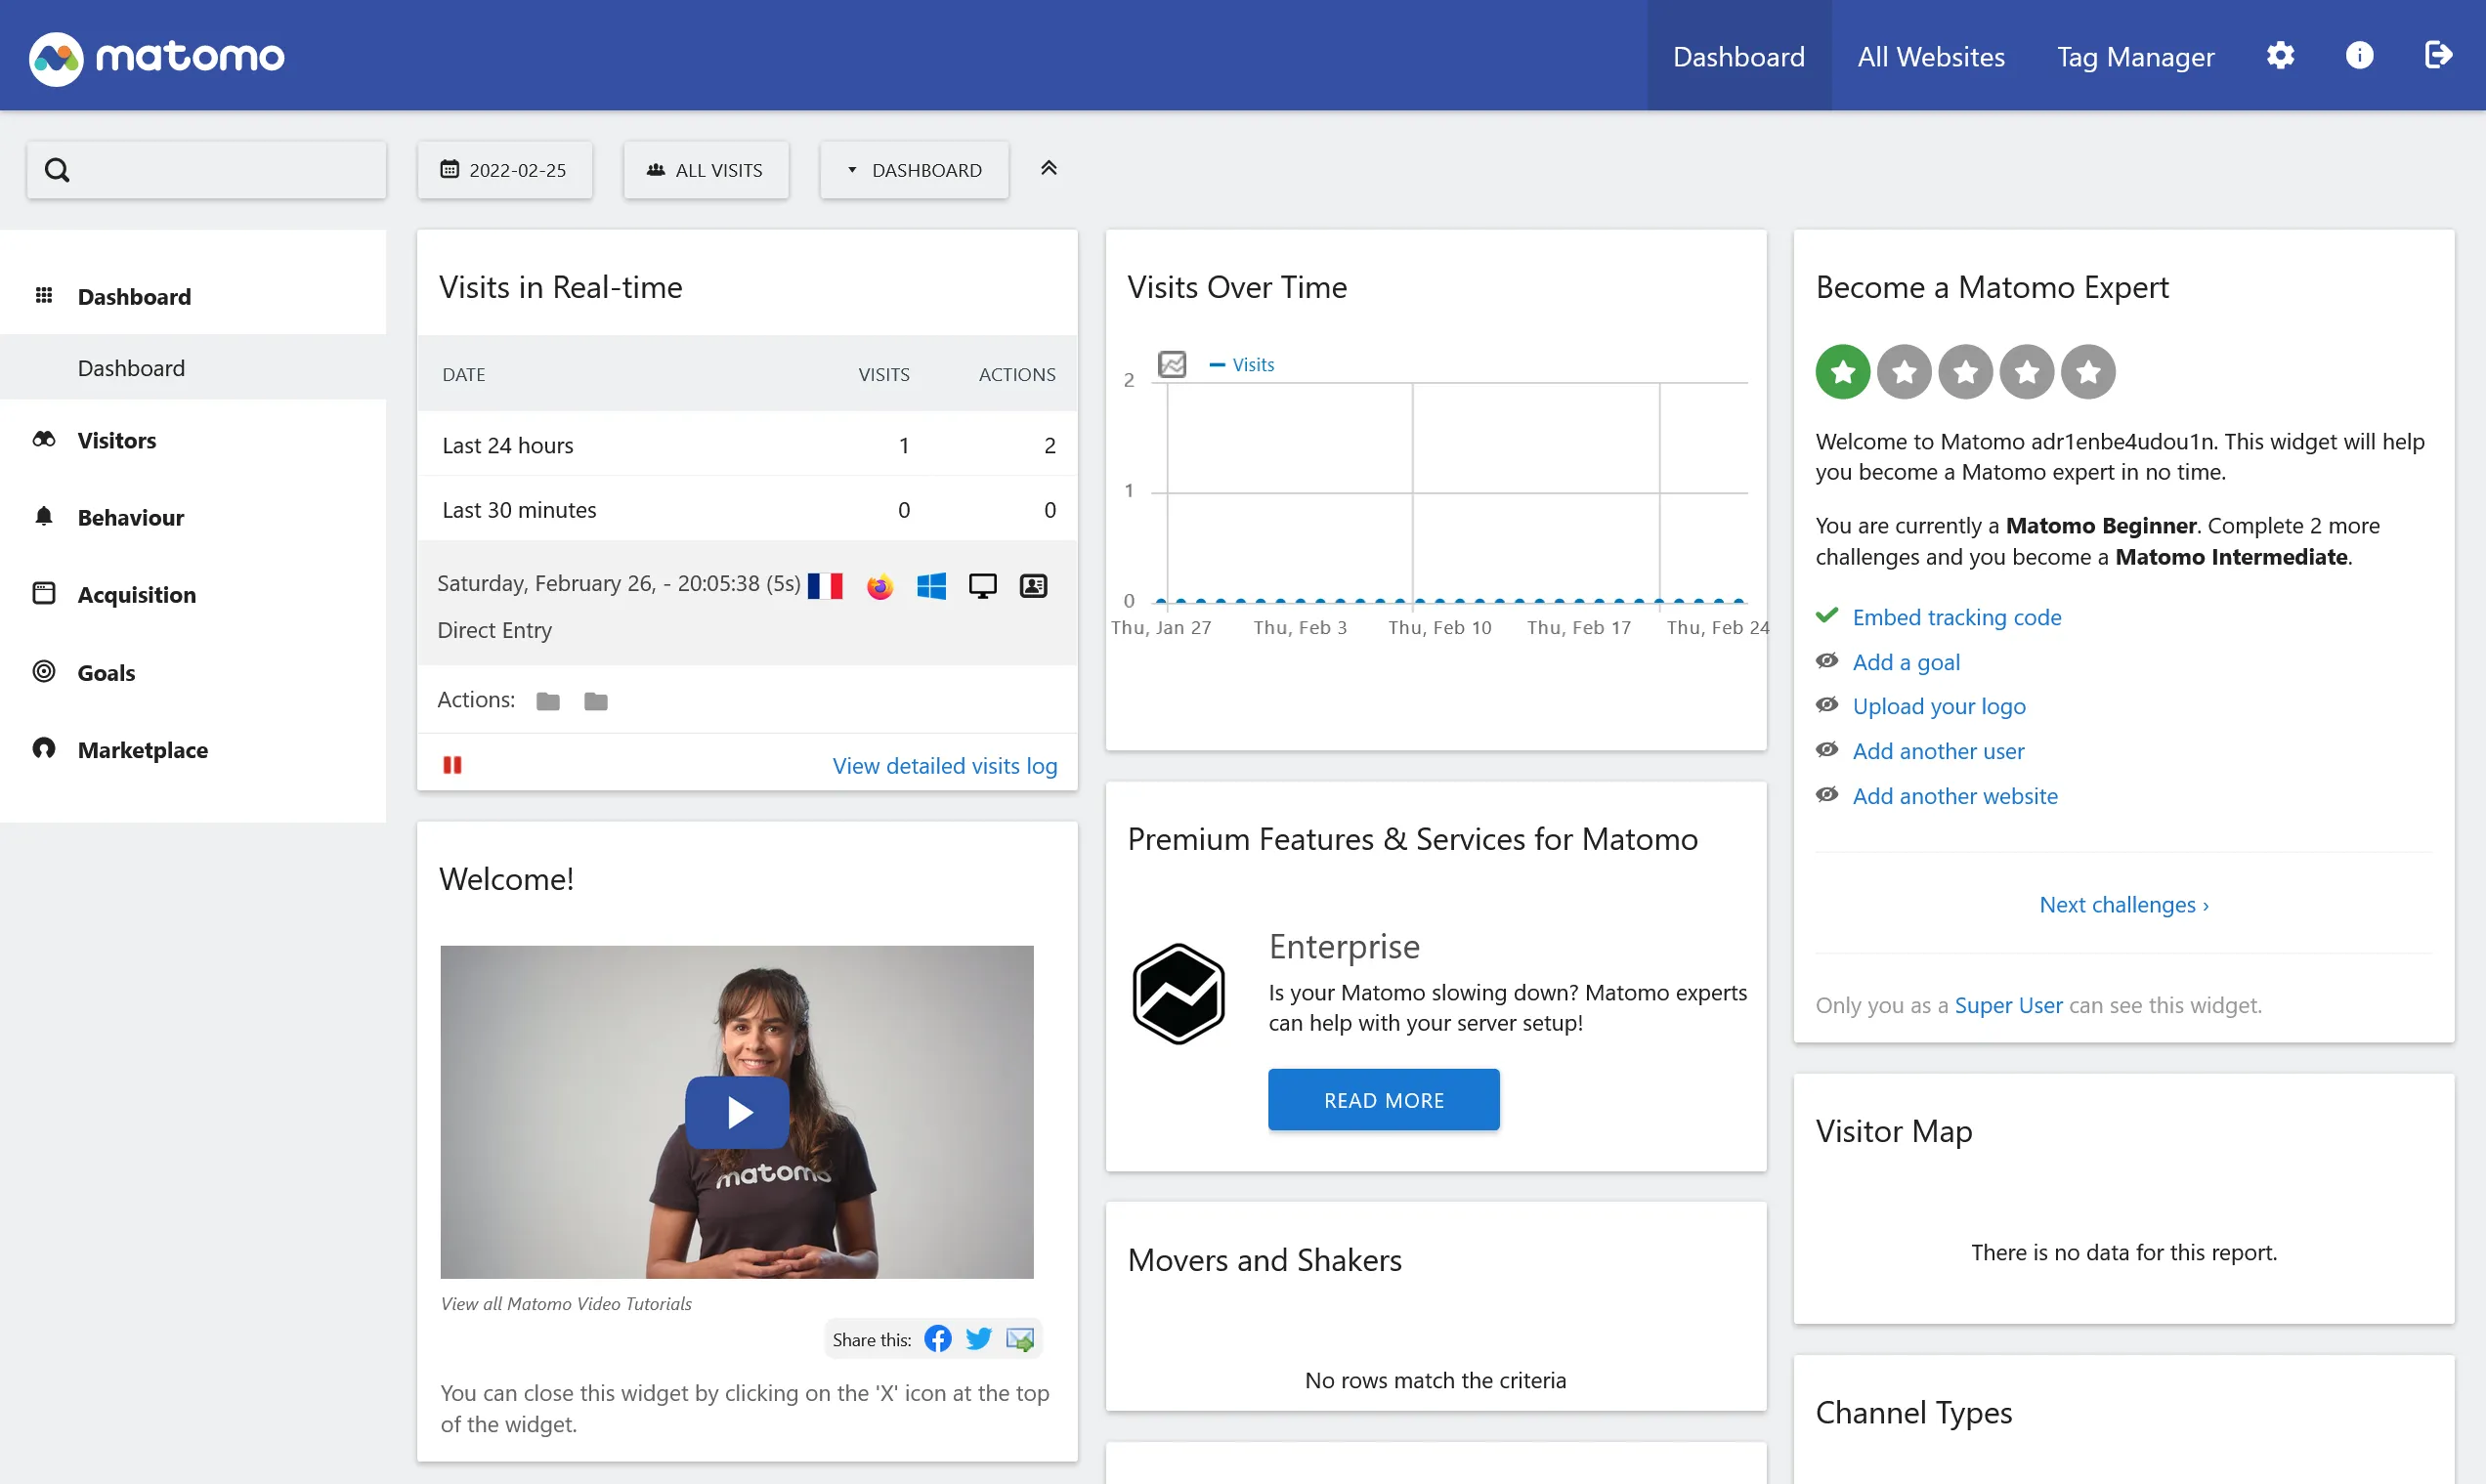
Then go to https://matomo.sw.dockerswarm.rocks and go through all installation. At the DB install step, use the above credentials and use the hostname of your data server, which is data-01 in our case. At the end of installation, the Matomo config files will be stored in config folder for persisted installation.
Final adjustments
If Matomo show some permissions issues, go to Matomo container with docker exec -u www-data -it matomo_app /bin/bash (the matomo_app container name can vary), and enter following command for applying once and for all :
./console core:create-security-filesEnable reliable GeoIP detection through UI by downloading the free DBIP database. It will be stored locally in misc directory.
Now for best performance we have to generate some rapport archives via crontab. Sadly the official container doesn’t include any crontab system. But we can use the previously installed swarm cronjob for this task ! Just add a new service into above matomo stack :
#... archive: image: matomo command: php console --matomo-domain=matomo.sw.dockerswarm.rocks core:archive volumes: - /etc/hosts:/etc/hosts - ${ROOT}/config:/var/www/html/config - ${ROOT}/misc:/var/www/html/misc - ${ROOT}/tmp:/var/www/html/tmp - ${ROOT}/lang:/var/www/html/lang deploy: labels: - swarm.cronjob.enable=true - swarm.cronjob.schedule=5 * * * * - swarm.cronjob.skip-running=true replicas: 0 restart_policy: condition: none placement: constraints: - node.labels.environment == production#...Swarm cronjob will now execute this service at 5th minute every hour. The important part is the command instruction which will tell the new entrypoint to use, which is in this case the rapport archiver command.
Redmine over MySQL
Redmine is a popular app for ticketing based on Ruby on Rails. With the docker based cluster, no more headache for installing !
Let’s create the redmine DB exactly as the same way as above Matomo.
Note
Use Native MySQL authentication as authentication plugin, as Redmine doesn’t support sha2 yet.
Create dedicated storage folder :
cd /mnt/storage-pool/sudo mkdir redmine && cd redmine
# for config file, file storage, plugins and themessudo mkdir config files plugins themes
# save default config locallysudo wget https://raw.githubusercontent.com/redmine/redmine/master/config/configuration.yml.example-O /mnt/storage-pool/redmine/config/configuration.yml
# generate a random key for REDMINE_SECRET_KEY_BASEcat /dev/urandom | tr -dc 'a-z0-9' | fold -w 40 | head -n 1
Next create new following stack :
version: '3.8'
services: app: image: redmine:5 volumes: - /etc/hosts:/etc/hosts - ${ROOT}/config/configuration.yml:/usr/src/redmine/config/configuration.yml - ${ROOT}/files:/usr/src/redmine/files - ${ROOT}/plugins:/usr/src/redmine/plugins - ${ROOT}/themes:/usr/src/redmine/public/themes environment: REDMINE_DB_MYSQL: REDMINE_DB_DATABASE: REDMINE_DB_USERNAME: REDMINE_DB_PASSWORD: REDMINE_SECRET_KEY_BASE: networks: - traefik_public deploy: labels: - traefik.enable=true - traefik.http.routers.redmine.entrypoints=https - traefik.http.services.redmine.loadbalancer.server.port=3000 placement: constraints: - node.labels.environment == production
networks: traefik_public: external: trueConfigure REDMINE_DB_* with proper above created DB credential and set the random key to REDMINE_SECRET_KEY_BASE.
Note
As above for matomo, use /mnt/storage-pool/redmine value for ROOT as Environment variable.
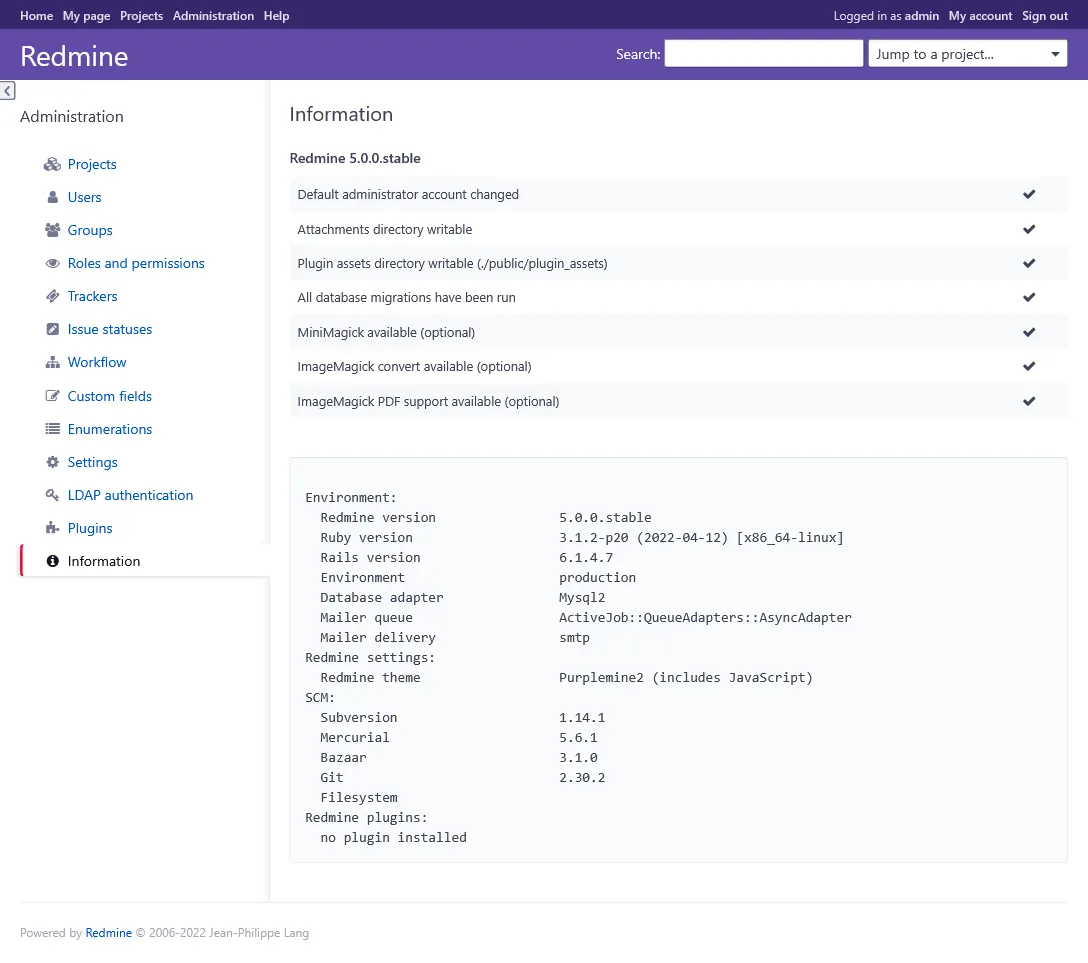
After few seconds, https://redmine.sw.dockerswarm.rocks should be accessible and ready to use, use admin / admin for admin connection !
Note
For better default theming, download PurpleMine and extract it into above redmine/themes folder. You now just have to enable it into redmine administration.
N8N over PostgreSQL
N8N is a popular No Code tool which can be self-hosted. Lets quick and done install with PostgreSQL.
First connect to pgAdmin and create new n8n user and database. Don’t forget Can login? in Privileges tab, and set n8n as owner on database creation.
Create storage folder with sudo mkdir /mnt/storage-pool/n8n and create new following stack :
version: '3.8'
services: app: image: n8nio/n8n volumes: - /etc/hosts:/etc/hosts - /mnt/storage-pool/n8n:/home/node/.n8n environment: DB_TYPE: DB_POSTGRESDB_DATABASE: DB_POSTGRESDB_HOST: DB_POSTGRESDB_USER: DB_POSTGRESDB_PASSWORD: networks: - traefik_public deploy: labels: - traefik.enable=true - traefik.http.routers.n8n.entrypoints=https - traefik.http.routers.n8n.middlewares=admin-auth - traefik.http.services.n8n.loadbalancer.server.port=5678 placement: constraints: - node.labels.environment == production
networks: traefik_public: external: trueAnd voilà, it’s done, n8n will automatically migrate the database and https://n8n.sw.dockerswarm.rocks should be soon accessible. Note as we use admin-auth middleware because n8n doesn’t offer authentication. Use the same Traefik credentials.
Data backup 💾
Because backup should be taken care from the beginning, I’ll show you how to use Restic for simple backups to external S3 compatible bucket. We must firstly take care about databases dumps.
Database dumps
Provided scripts will dump a dedicated file for each database. Fill free to adapt to your own needs.
Create following executable script :
#!/bin/bash
target=/var/backups/mysqlmkdir -p $targetrm -f $target/*.sql.gz
databases=`mysql -Be 'show databases' | egrep -v 'Database|information_schema|performance_schema|sys'`
for db in $databases; do  mysqldump --force $db | gzip > $target/$db.sql.gzdone;
Then add 0 * * * * /usr/local/bin/backup-mysql to system cron /etc/crontab for dumping every hour.
Create following executable script :
#!/bin/bash
target=/var/lib/postgresql/backupsmkdir -p $targetrm -f $target/*.gz
databases=`psql -q -A -t -c 'SELECT datname FROM pg_database' | egrep -v 'template0|template1'`
for db in $databases; do  pg_dump $db | gzip > $target/$db.gzdone;
pg_dumpall --roles-only | gzip > $target/roles.gz
Use it via
crontab -eas postgres user.0 * * * * /usr/local/bin/backup-postgresql
Then add 0 * * * * /usr/local/bin/backup-postgresql to postgres cron for dumping every hour. To access postgres cron, do sudo su postgres and crontab -e.
Note
This scripts doesn’t provide rotation of dumps, as the next incremental backup will be sufficient.
Incremental backup with Restic
Now we’ll configure Restic for incremental backup to any S3 compatible external provider. Note as all following commands must be executed as root user. Be sure to do sudo su - before continue.
wget https://github.com/restic/restic/releases/download/v0.12.1/restic_0.12.1_linux_amd64.bz2bzip2 -d restic_0.12.1_linux_amd64.bz2chmod +x restic_0.12.1_linux_amd64mv restic_0.12.1_linux_amd64 /usr/local/bin/resticrestic self-updaterestic generate --bash-completion /etc/bash_completion.d/resticHere are some typical folders to exclude from backup.
.glusterfsnode_modulesReplace next environment variables with your own S3 configuration.
export AWS_ACCESS_KEY_ID="your-access-key"export AWS_SECRET_ACCESS_KEY="your-secret-key"export RESTIC_REPOSITORY="s3:server-url/bucket-name/backup"export RESTIC_PASSWORD="a-strong-password"echo ". ~/.restic-env" >> .profile
# reload profilesource ~/.profile
# create repositoryrestic init
# test backuprestic backup /mnt/HC_Volume_xxxxxxxx/gluster-storage /var/backups/mysql /var/lib/postgresql/backups --exclude-file=/etc/restic/excludes.txtAdd following cron for backup every hour at 42min :
42 * * * * root . ~/.restic-env; /usr/local/bin/restic backup -q /mnt/HC_Volume_xxxxxxxx/gluster-storage /var/backups/mysql /var/lib/postgresql/backups --exclude-file=/etc/restic/excludes.txt; /usr/local/bin/restic forget -q --prune --keep-hourly 24 --keep-daily 7 --keep-weekly 4 --keep-monthly 3You now have full and incremental backup of GlusterFS volume and dump databases !
Note
Always testing the restoration !
3rd check ✅
We’ve done the databases part with some more real case app containers samples.
In real world, we should have full monitoring suite, this will be next part.